These are super easy and cheap to make which make them a winner for me!
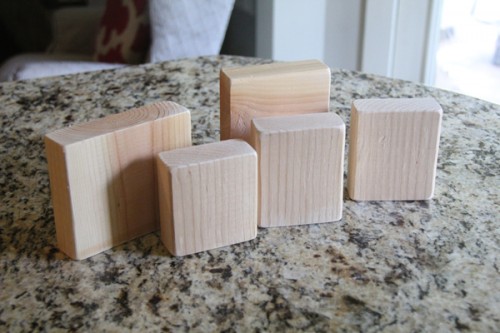
I started with some scrap board. If you
don’t have scrap, you can buy one 2×4 and one 2×6. Your cost of wood
will be under $6 and you won’t use hardly any of it, so you can make
lots! 
I cut mine at different lengths because I
like them all looking a bit different. You may want to check the size
of your photos before cutting your wood. All of my photos are 4×6 that I
printed from home.
I also cut a 2×6 piece at 18″ for my ‘family’ sign.
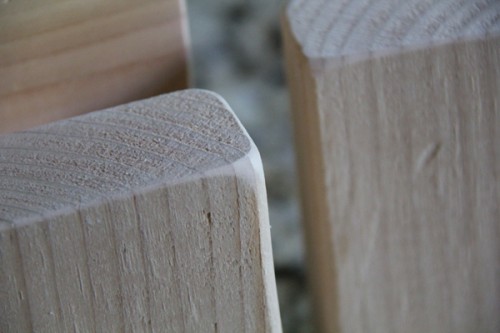
After cutting my wood, I sanded the corners a bit as well to make them look smooth.
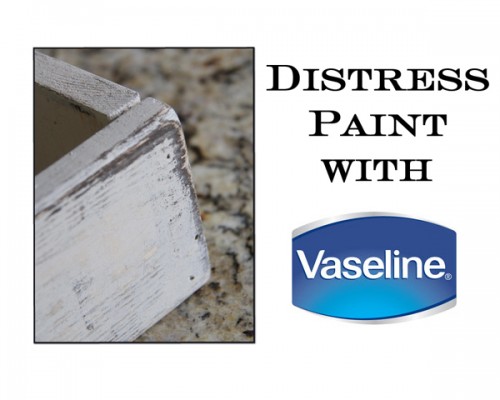
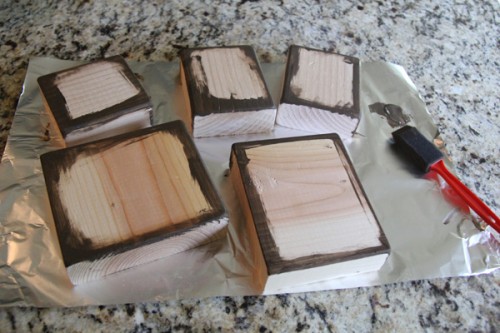
I decided to use my favorite paint method on these. I shared how I distress paint with Vaseline a while back. You can see details HERE! It’s a really easy way to achieve that perfect ‘shanty’ look! 
Here are all my blocks before their second coat!
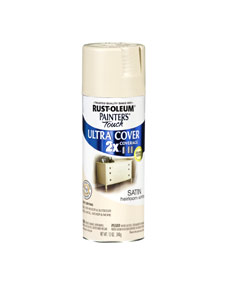
I used Rust-Oleum Painter’s Touch in Heirloom White for my top coat! It’s our very fav and you can find it at Home Depot!
After finishing my paint method I started
on my family sign. I cut a piece of drop cloth 1″ shorter around than
my block. You can find these canvas drop cloths at HD or Lowe’s for
around $5, or you can use scrap fabric.
Now it’s time for the nailheads! I use
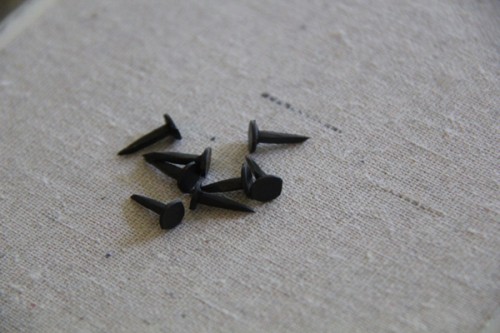
these upholstery tacks that can be found at Lowe’s on the hardware
aisle. They are super cheap and I love the way they finish off this
project. They are sharp so be careful!
I put a nail at each corner to hold my drop cloth in place.
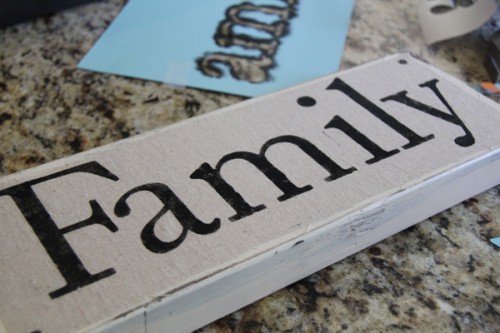
Once that was done I did my stenciling. I used my Silhouette Cameo to cut my letters. I used a font called Adobe Caslon Pro.
I used card stock to make my stencils.
If you don’t have a Cameo, you can make your own stencils by printing
them and cutting with a craft knife. This baby just saves lots of time!
I used a stencil brush and black acrylic paint to stencil my letters.
Make sure you dab your brush up and down. Don’t brush your paint on.
This keeps it from going under your stencil.
And every blank space needs a rosette of course…
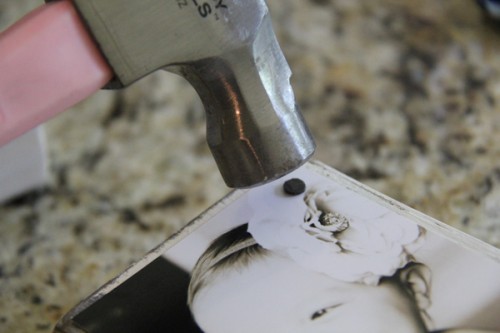
My last step was my pictures! I just cut
down my pictures so they were a bit smaller than my blocks. Then, I
hammered a nail in each corner to hold them in place. I love the
results!
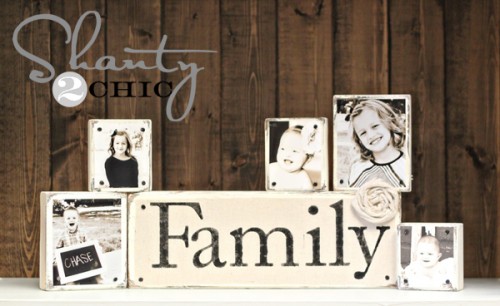
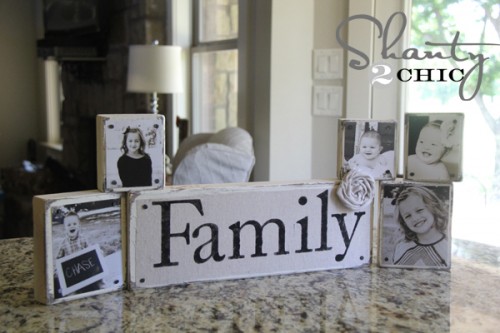
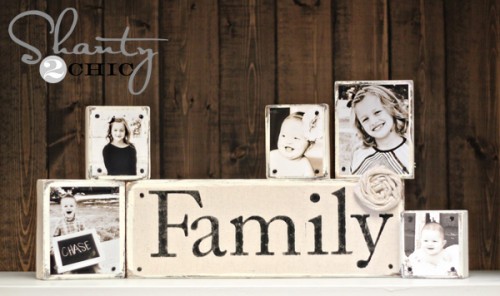
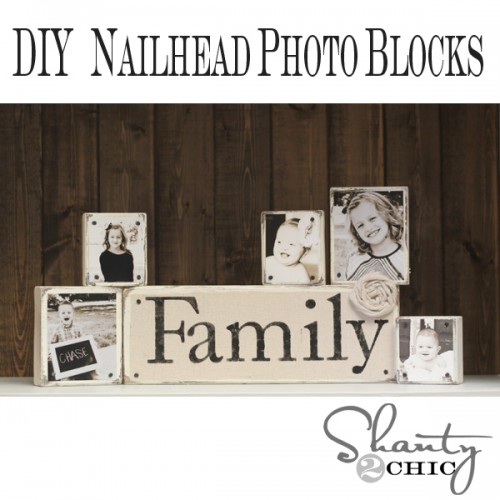
That’s it! Finished!
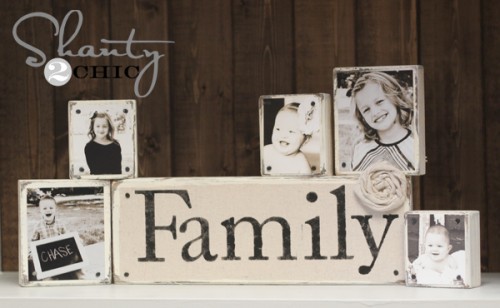
Here they are in their new home…
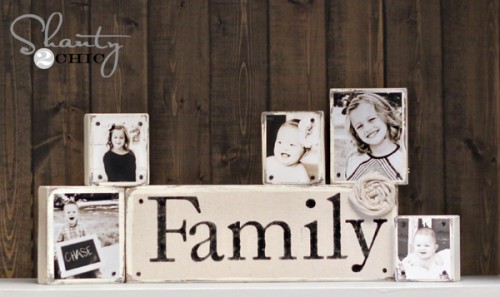
And the best part is you can move them whenever you want!
Hope you like them! I love that I didn’t have to mess with Mod Podge or anything else sticky! It was quick and easy!







Nessun commento:
Posta un commento