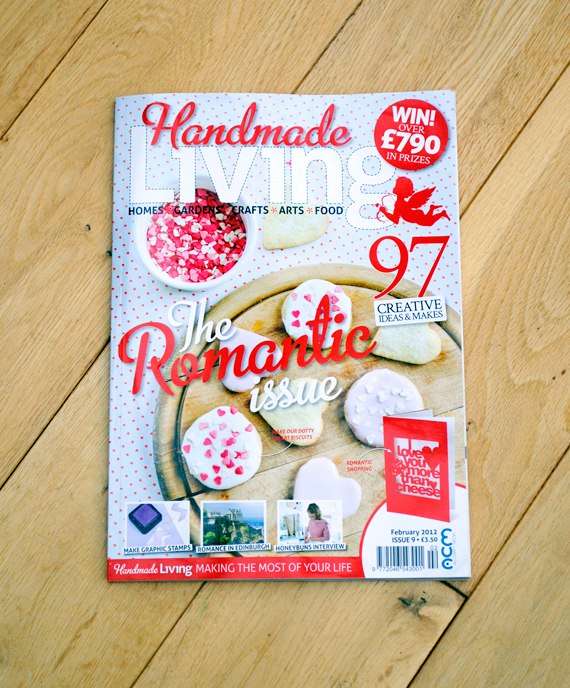
So…I put an article together for this months issue of Handmade Living on easy rubber stamps. (I actually wrote this article about three months ago….it’s taking me a while to get used to the print ‘time-lag’ thing).
These stamps are made from erasers, using a craft knife and ruler. If you stick to straight lines then carving is easy and you don’t need any specialist tools!! Perfect for decorating your own wrap, cards and fabric etc. Great also for your kids to play with.

If you want to see how hand carved stamps are done the proper way then check out this ace tutorial at Geninne’s Art Blog. Her hand carved stamps are nothing short of amazing.
Hama bead weaving tutorial on its way early next week! More tummy-bugs/throat infections in our house this week so not much in the way of spare time! Booo!
You can pick up a copy of Handmade Living from Morrisons, Asda, Sainsburys, Martins, WH Smiths, Hobbycraft plus a number of independent shops and newsagents. Internationally, the magazine is available from Barnes and Noble in the US and newsagents in Australia.
You can also subscribe here or here if you want the electronic version.
http://www.minieco.co.uk/handmade-geometric-stamps-for-handmade-living/
Hand Carved Stamps Tutorial Part 1
 This is a list of the tools that I use to make my stamps.
You can certainly use other alternatives.
I am linking each item to Dick Blick
simply because they have good photos
and it's where I usually buy my supplies,
but any of these things can be bought at any other
art/office supply store in your area.
 1- A Speedball linoleum cutter
is the tool you will use to carve your stamps. I use the No.1 and No.5
cutters. The No.1 is for carving out fine lines and the No. 5 for
carving out large areas of the stamp.
1- A Speedball linoleum cutter
is the tool you will use to carve your stamps. I use the No.1 and No.5
cutters. The No.1 is for carving out fine lines and the No. 5 for
carving out large areas of the stamp.2- You can use any kind of dense/soft eraser to make your stamps (I recommend Staedtler erasers, they work like a charm) or carving blocks made specifically for this purpose like MasterCarve, E-Z Cut, Soft-Kut and many more. For the purpose of this tutorial I will make stamps with erasers which are easily available to everyone.
3- A trusty (and highly dangerous) X-Acto knife for cutting the eraser or block material to the desired size or shape. Be careful with this tool! and always put the protective cap back on after each use.
4- Any type of archival ink pad. There are so many kinds of ink pads available out there! I use StazOn, or VersaColor, you can also use black ink pads from office supply shops.
5- A No.2 pencil.
6- Some plain white paper to do some stamping tests and to draw the image you want to transfer on to your carving block.
7- And last but not least: an idea ;) You have to decide what it is that you want to make...I would start with a basic simple shape. I use my teardrop shapes all the time or just a basic triangle like the happy Christmas trees I recently posted. Practice, practice, practice and in no time you will be making more intricate shapes.
Hand Carved Stamps Tutorial Part 2


Whew!
The weather has been unseasonably rainy this week
and I thought I wouldn't have time to do Part 2 of the tutorial,
but the sun came out this morning :)
I'll be adding the explanatory text over the weekend
...I didn't want to leave you hangin'
I bet you can even start carving by just looking at the pictures.
This tutorial was done with plain white erasers. you don't need to have
a special carving block to make simple & fun stamps.
F.A.Q #2
 This is probably the question I'm asked the most.
This is my favorite carving block to make stamps.
It really does cut like butter:
 This tool is called a linoleum cutter.
I use one made by Speedball.
I mostly use the liner tip, and the large gouge:


http://blogdelanine.blogspot.com/search/label/handcarvedstampstutorial


Nessun commento:
Posta un commento