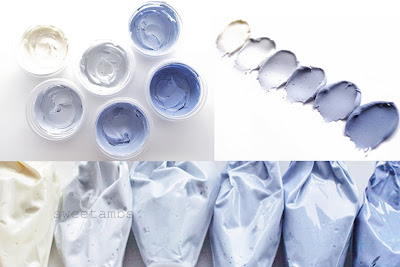
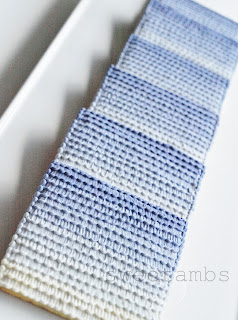
I tried a few different techniques for this ombre cookie and found that
brush embroidery worked best for transitioning through these shades of
blue (Wilton's delphinium blue to be exact).
...
I started by giving my cookie a crumb coat, which is not something I'd
tried before. While I did need a smooth surface on which to apply my
brush embroidery, I did not want to flood the cookie and end up with two
full layers of icing in the end. Also, the drying time for this thin
coat was about 20 minutes in front of a fan, meaning I didn't have to
wait overnight to get started on the decorating. ...
The consistency of the base icing was about the same as sour cream.
...
Before the icing dried completely, I marked 1/2" spaces using a ruler and a scribe (this cookie is 3x3"). A toothpick would also work for this step.
...
Once the icing is dry to the touch, you can start on the fun part. I have here a container of water, a square tip brush and a paper towel.
...
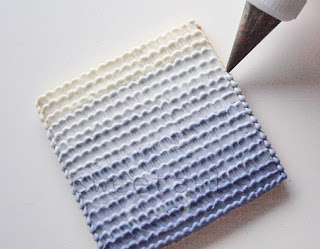
Begin by piping a line in a zigzag motion. This icing is about the consistency of toothpaste.
...
Then, dip your brush in the water, blot the excess on the paper towel and bring the icing inward in short, quick motions. To see this in action, visit my YouTube channel and watch my video on brush embroidery.
...
I was able to fit 3 rows of each color per 1/2" section.
...
The bead border is made up of about 3-4 beads of each shade per section.
To see the finished product, click here. Or, if you don't feel like going through the trouble of making these yourself, you can buy them in my Etsy shop!


Nessun commento:
Posta un commento