Hey there! It was such a beautiful weekend for us here! We were able to enjoy our little league opening day and a birthday party for my niece and although it was jam-packed, I managed to squeeze in a little DIY! It took about 30 minutes and $20!

The giant blank space above our PB Inspired Storage System , in our gameroom, finally got the best of me and inspired me to make this Wooden Family Sign;)
Here’s how I did it!
Supplies:

MDI letters from Hobby Lobby ($1.25 after sale)

4 – 1×4 furring strips ($1 each) cut down to 58″

11 - 3/8″x1″ Hex Lag Screws (hardware store $0.36 each) and 1 bag of 5/16″ flat washers (hardware store $2) These were in the nuts and bolts isle.

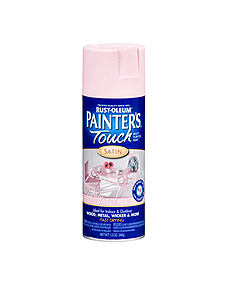
I started by spray painting the letters with Rust-Oleum Heirloom White

While I waited for the letters to dry, I built the sign. I used Gorilla Glue Wood Glue and my nailer to attach scrap 1×2′s to the back of 4 1×4′s. (You will also need to attach your mounting bracket, if you plan to hang it on a wall, now).

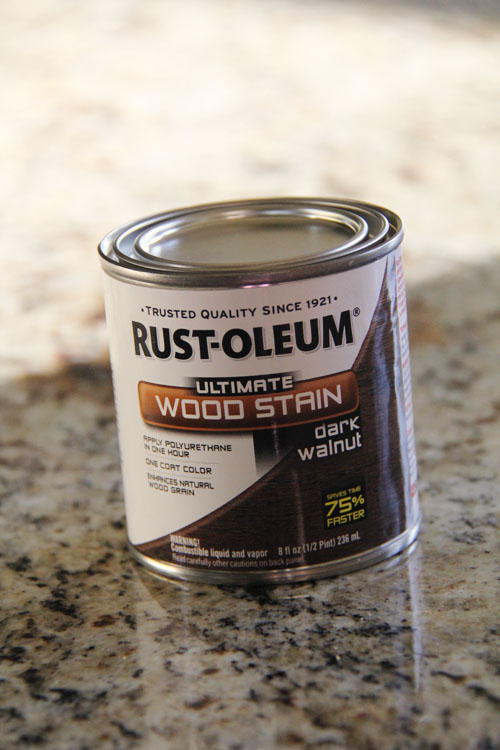
I then stained the sign with Rust-Oleum Dark Walnut Stain.

Next, I used Gorilla Glue Epoxy to attach the letters to the sign.
Now for the fun, finishing touch!

I wanted an industrial look for this sign so I chose to add the galvanized hex screws. I marked off where I wanted the hex screws to be placed (I chose random spacing) and pre-drilled a hole for each screw. I then added a washer and tightened the screw down with a wrench.
That was it:) 30 minutes and less than $20!
http://www.shanty-2-chic.com/2012/03/diy-wooden-family-sign.html


Nessun commento:
Posta un commento